DIY Spinner: A Fun and Easy Project
Date: 07/27/2024
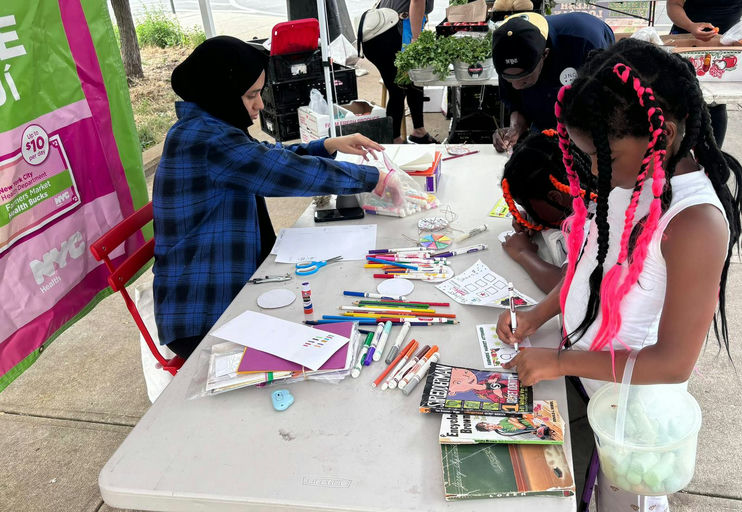
Spinners have been a popular toy for a while, but did you know you can make your own at home? This DIY spinner project is a fun and easy way to create a personalized toy you can customize. Whether you're a parent looking for a craft activity with your kids or someone who enjoys hands-on projects, this is perfect for you. You can even draw on them!
Here's what you'll need for your DIY spinner:
- Cardboard: An old cardboard box or empty box will do.
- Scissors: Cut out the shape of your spinner.
- Markers or Paint: To decorate your spinner.
- Glue: Any strong adhesive will work, but glue is preferred.
- A Piece of Paper and a Pen: To create a template.
Steps:
1. Draw a Circle: Draw a circle with a diameter of about 3-4 inches on a piece of paper to serve as your template.
2. Cut the Template: Cut out the circle and use it to guide the cardboard.
3. Form the Prongs: Cut out sections to form the prongs of the spinner.
4. Create a Center Hole: Using a push pin, poke a hole through the center of the spinner.
5. Decorate: Use markers or paint to decorate your spinner. Be creative and make it unique!
Making a DIY spinner is a great way to recycle materials around the house and create a fun toy.